
Manufacturing
The students today were very productive. The students working to assemble the kit bot drive base got some additional wheels on. It looks like one side is finished. Although I was talking to they asked what the best way to keep a bearing in was. That confused me, it turns out that they put one of the bearings in on the gear box backwards and it keeps pushing out. They didn’t seem thrilled when I told them the best way was to take the gearbox out and flip the bearings. I look forward to talking with them at the end to see how their experience was in building the kit bot.

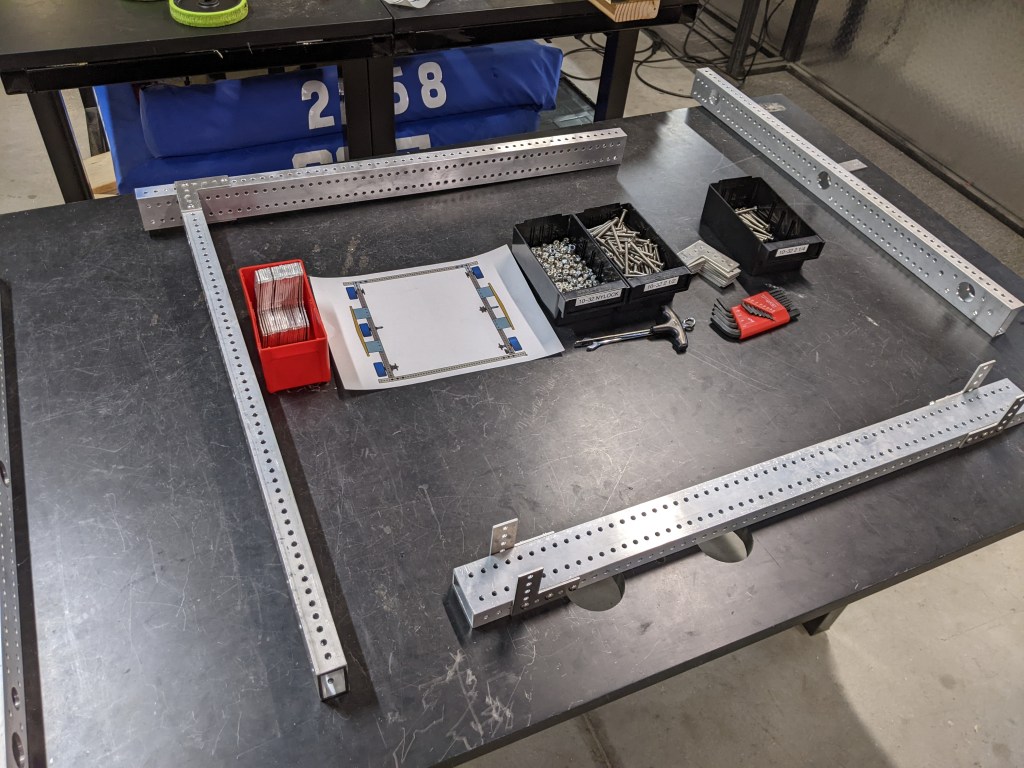
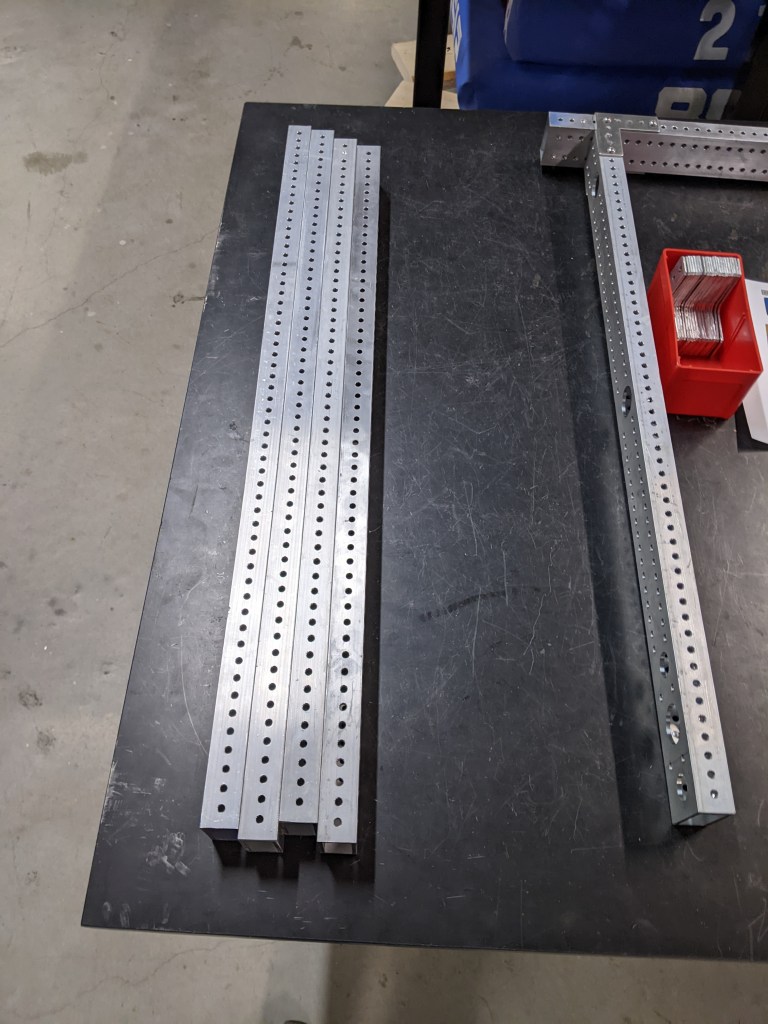
The drive base rails all got finished, 8 rails, a bunch of holes made in two days. It was a good turn around from the manufacturing students. We decided to put a hole pattern on the sides of the rail this year. That was mostly inspired from our experience in 2020 where we had to take apart the drive base a few different times to add holes. Its not fun taking things apart to add a few holes. Its a compromise too, If we could finish CAD quick enough and hand off the robot in one piece to manufacturing we wouldn’t need to add all the holes. But if we tried to do that they would get a robot sometime around week 5 and no one would be happy. So we make the trade off of drilling a few extra holes.
The drive base assembly started today. We are missing a two of the gears needed for the drive base. Those are just getting ordered so I don’t think we will be up and moving under power before next week Thursday if we are lucky.
CAD
A lot of my time was spent attempting to get the Rev Robotics Hardware Client to run multiple motors are once. I really dislike the Rev Robotics Hardware client, after an hour of trouble shooting the best I got was a single motor running. It would have taken less time to write code to run the three motors….
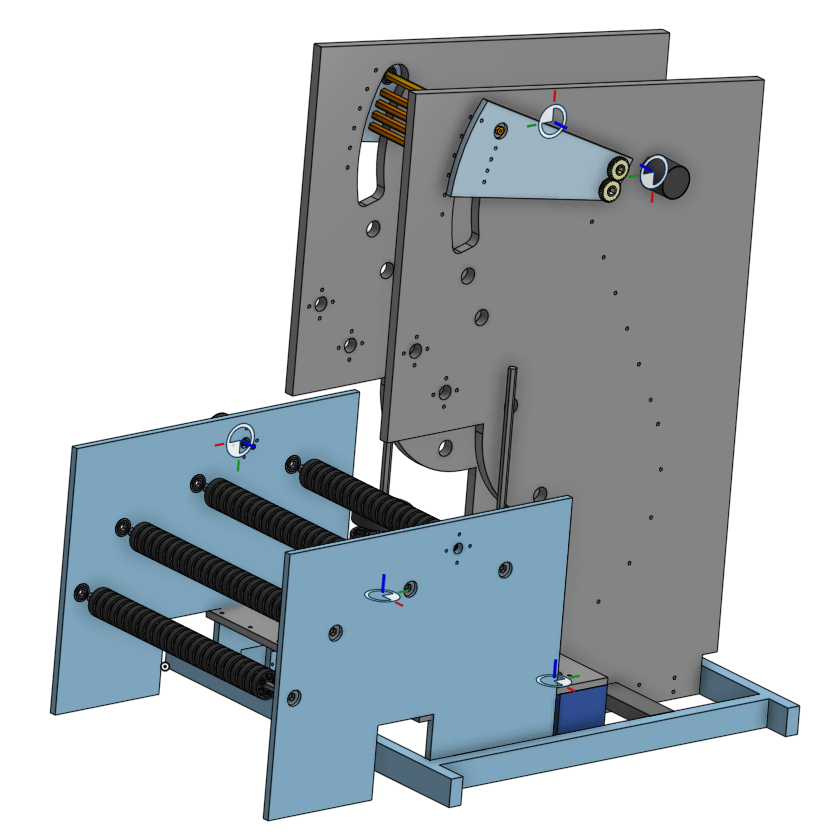
The Intake V2 has better initial compression, rollers c, and d do not have enough compression and there are dead zone between them. Improvements to make for V3. Looking at the CAD I found the source of our errors. The construction line running horizontal was the line we used to set the spacing on the rollers. This line was accidentally set to the bumper cutout profile instead of the top of the bumper.

The CDS also doesn’t have enough compression between the rollers that was fixed in CAD today. This year we are making really high quality prototypes out of cheaper materials. We are skipping a few steps, such as how to deploy the intake, in order to more quickly nail down the intake geometry that intakes really well. Later we will return and figure out how to deploy the intake. For now its more important that we get something up and running to test and iterate on. The rest of the CDS and shooter prototype is being worked on. It needs a few improvements but those shouldn’t take too long, hopefully we can cut and assemble on Saturday.
I’m getting a little nervous we are heading into week 3 and we have a good idea of the geometry that the robot will need, but work hasn’t started on translating our prototypes into refined versions build out of materials other than wood. We need to take a few minutes on Saturday and try and create a schedule for finishing the intake, shooter, and CDS by the end of next week. Which is seeming more and more unlikely to be accomplished.

Leave a comment