
Prototyping
Today our prototyping was focused on iterating upon the vectored intake wheel prototypes. While testing the 2″ vectored intake wheels we discovered that if we lowered the back roller there was less cone material to get stuck on.

The back roller was moved and we put the 4″ vectored intake wheels on. Okay lets be honest these wheels were probably designed for drive base uses… Any ways we got to testing. It worked good as long as the cone wasn’t pointing in towards the robot or perpendicular.

While testing the perpendicular cones we noticed the vectored intake wheels were still vectoring the cone to the center. It just doesn’t always intake the wheel. It is funny / odd to see the cone moving sideways by just the edge.

Next we added a piece of plywood underneath to adjust the spot the cone is hitting the vectored intake wheels at. This seemed to increase the chance the cone would get grabbed into the rollers and centered.


A third roller was added to the bottom to try and encourage the cone to get grabbed. Unfortunately we used too small of wheels and the third roller doesn’t make contact with the cone at the right spot. It needs to be closer.

The 4″ vectored intake wheels have great potential. On Tuesday we will try fixing the bottom roller to hit at the right place. We’ll also try adding a compliant wheel in between the left and the right sets of vectored intake wheels. One of these will hopefully solve the issue of the cone not getting grabbed when perpendicular.
What if the cone is facing towards the robot? Well we are not sure how to solve that yet. Its likely we’d be able to translate the drive base and reorient ourselves so its not pointed directly towards the robot. Another thing that might work is driving into the cone and pushing it by the tip. We’ll try these out and see how they work if we are able to solve the issue we are having with perpendicular cones. If not well back to weed wacker I guess.
CAD
CAD worked on refining the arm and buddy climb today. The arm got all the important positions documented in our engineering notebook. Note only the last photo showing the substation interaction has an intake one it.
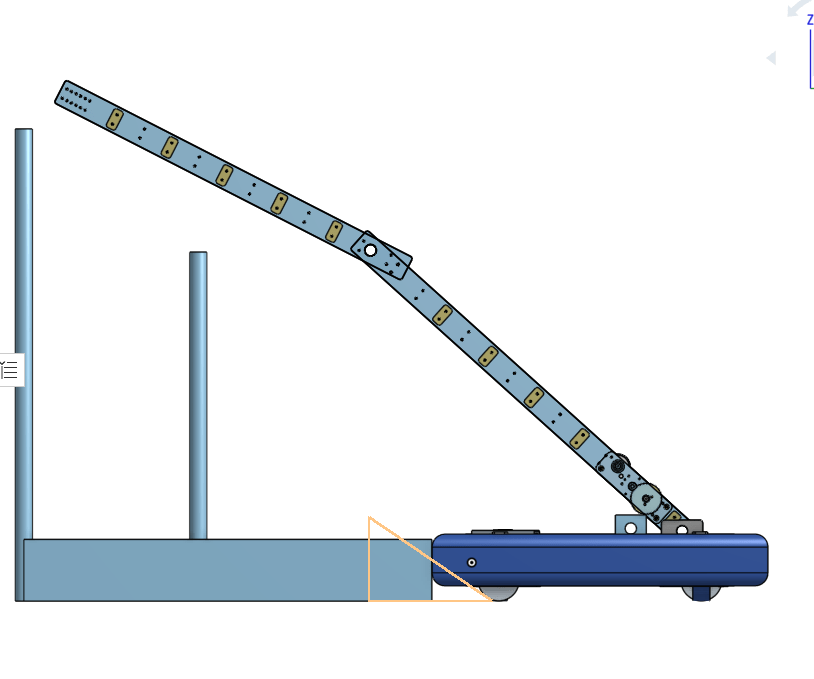


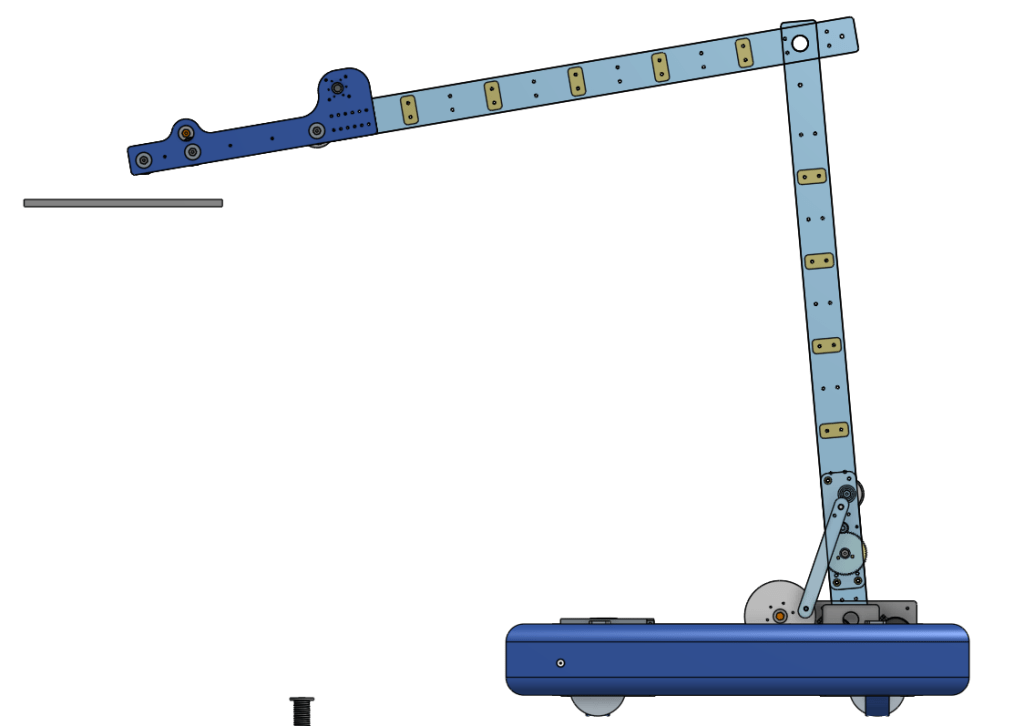
The “choo choo” mechanism which will power the first stage of the arm was completed today. Behind it you can see the start of the winch gearbox for the second stage of the arm. We copied/borrowed/stole the geometry from the every bot intake. We’ll use this for driver practice until we perfect the floor intake.


Charging Station
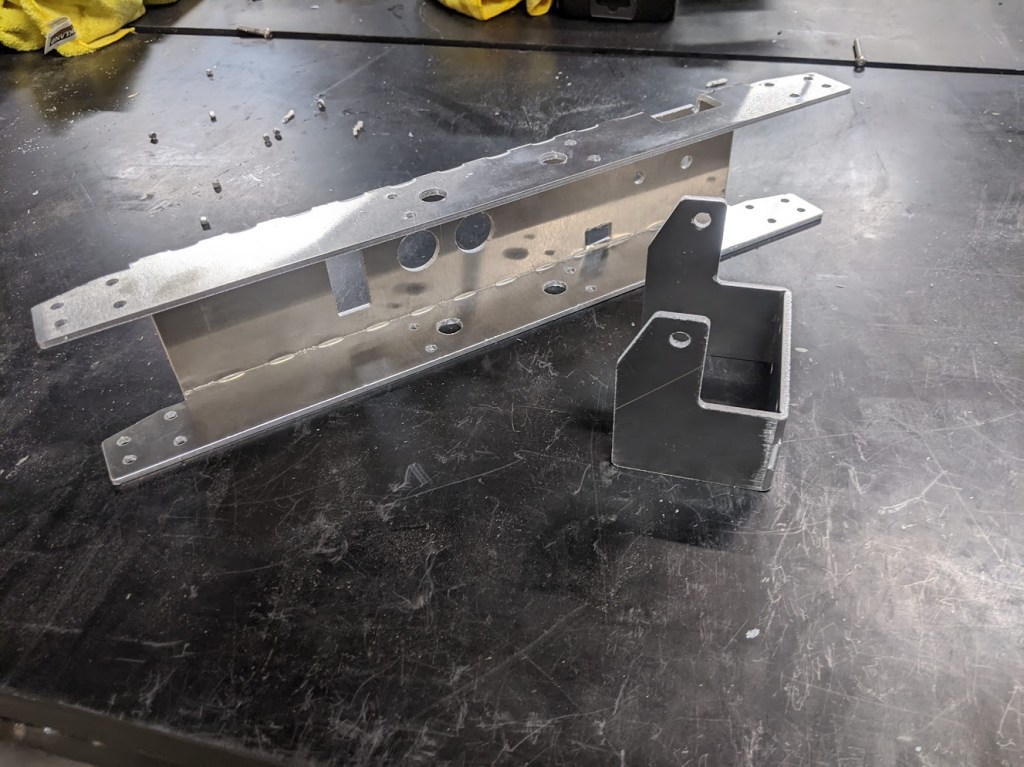
The charging station build managed to get another sheet of metal laser cut today. The last one will get cut tomorrow. More pieces were bent today. We struggled to bend the long 48″ piece, our brake isn’t rated for the length and thickness but it struggled through. The 1.75″ box tube came in and those parts started getting machined. We are probably still a week or so out from having the charging station finished.

Driver Practice
Don’t have a finished robot yet? Same here. However we aren’t letting that stop us from getting driver practice in. We have a drive base that works and the past week we’ve been doing drills aligning to spots on the grid. Today we upped the ante. If you have a spare 2 x 4 and drive base laying around you can start doing some driver practice!

The goal is for the driver to just gently touch the pole and head back to the other side of the field and touch the pole on that side. Then repeat, moving down the grid each time. We time these runs to see who is the fastest.
Next team meeting is on Tuesday, we’ll be busy thinking about more prototypes in the mean time!

Leave a comment